
A couple of weeks ago my 15" MBP from late 2016 started showing signs of #flexgate. Please Google it! In short, the backlight flex cable connecting the main body with the screen is too short by design and breaks in a couple of years of normal use. Just around the time no warranty is valid anymore.
Apple have started a repair program for the 13" models but not the 15" even though the technical issue is exactly the same. Here's a petition.
There's also an attempt to sue.
Anyway, my issues started as the typical stage light effect but quickly became worse until I couldn't open the screen more than 30° before it turned black.
Timing couldn't be worse because I'm really looking forward to the Pro version of M1x/M2 or whatever for a dev machine. And I can't really be without an x86 machine right now until there's support for Docker and a bunch of other stuff on Apple silicon. Buying the 16" Intel based MBP would be such a waste!
Seemed pretty hard do source proper screens here in Sweden. Found a few on Aliexpress with mixed reviews, some seemed to be deemed out as counterfeit so I would rather try to repair. And I just received a microscope with a screen so I figured this should be solvable :)
Found this video: https://www.youtube.com/watch?v=JLrKuK7IK3I&t=778s of a guy in Thailand that solder on wires onto the flex cable so I figured I'd try that.
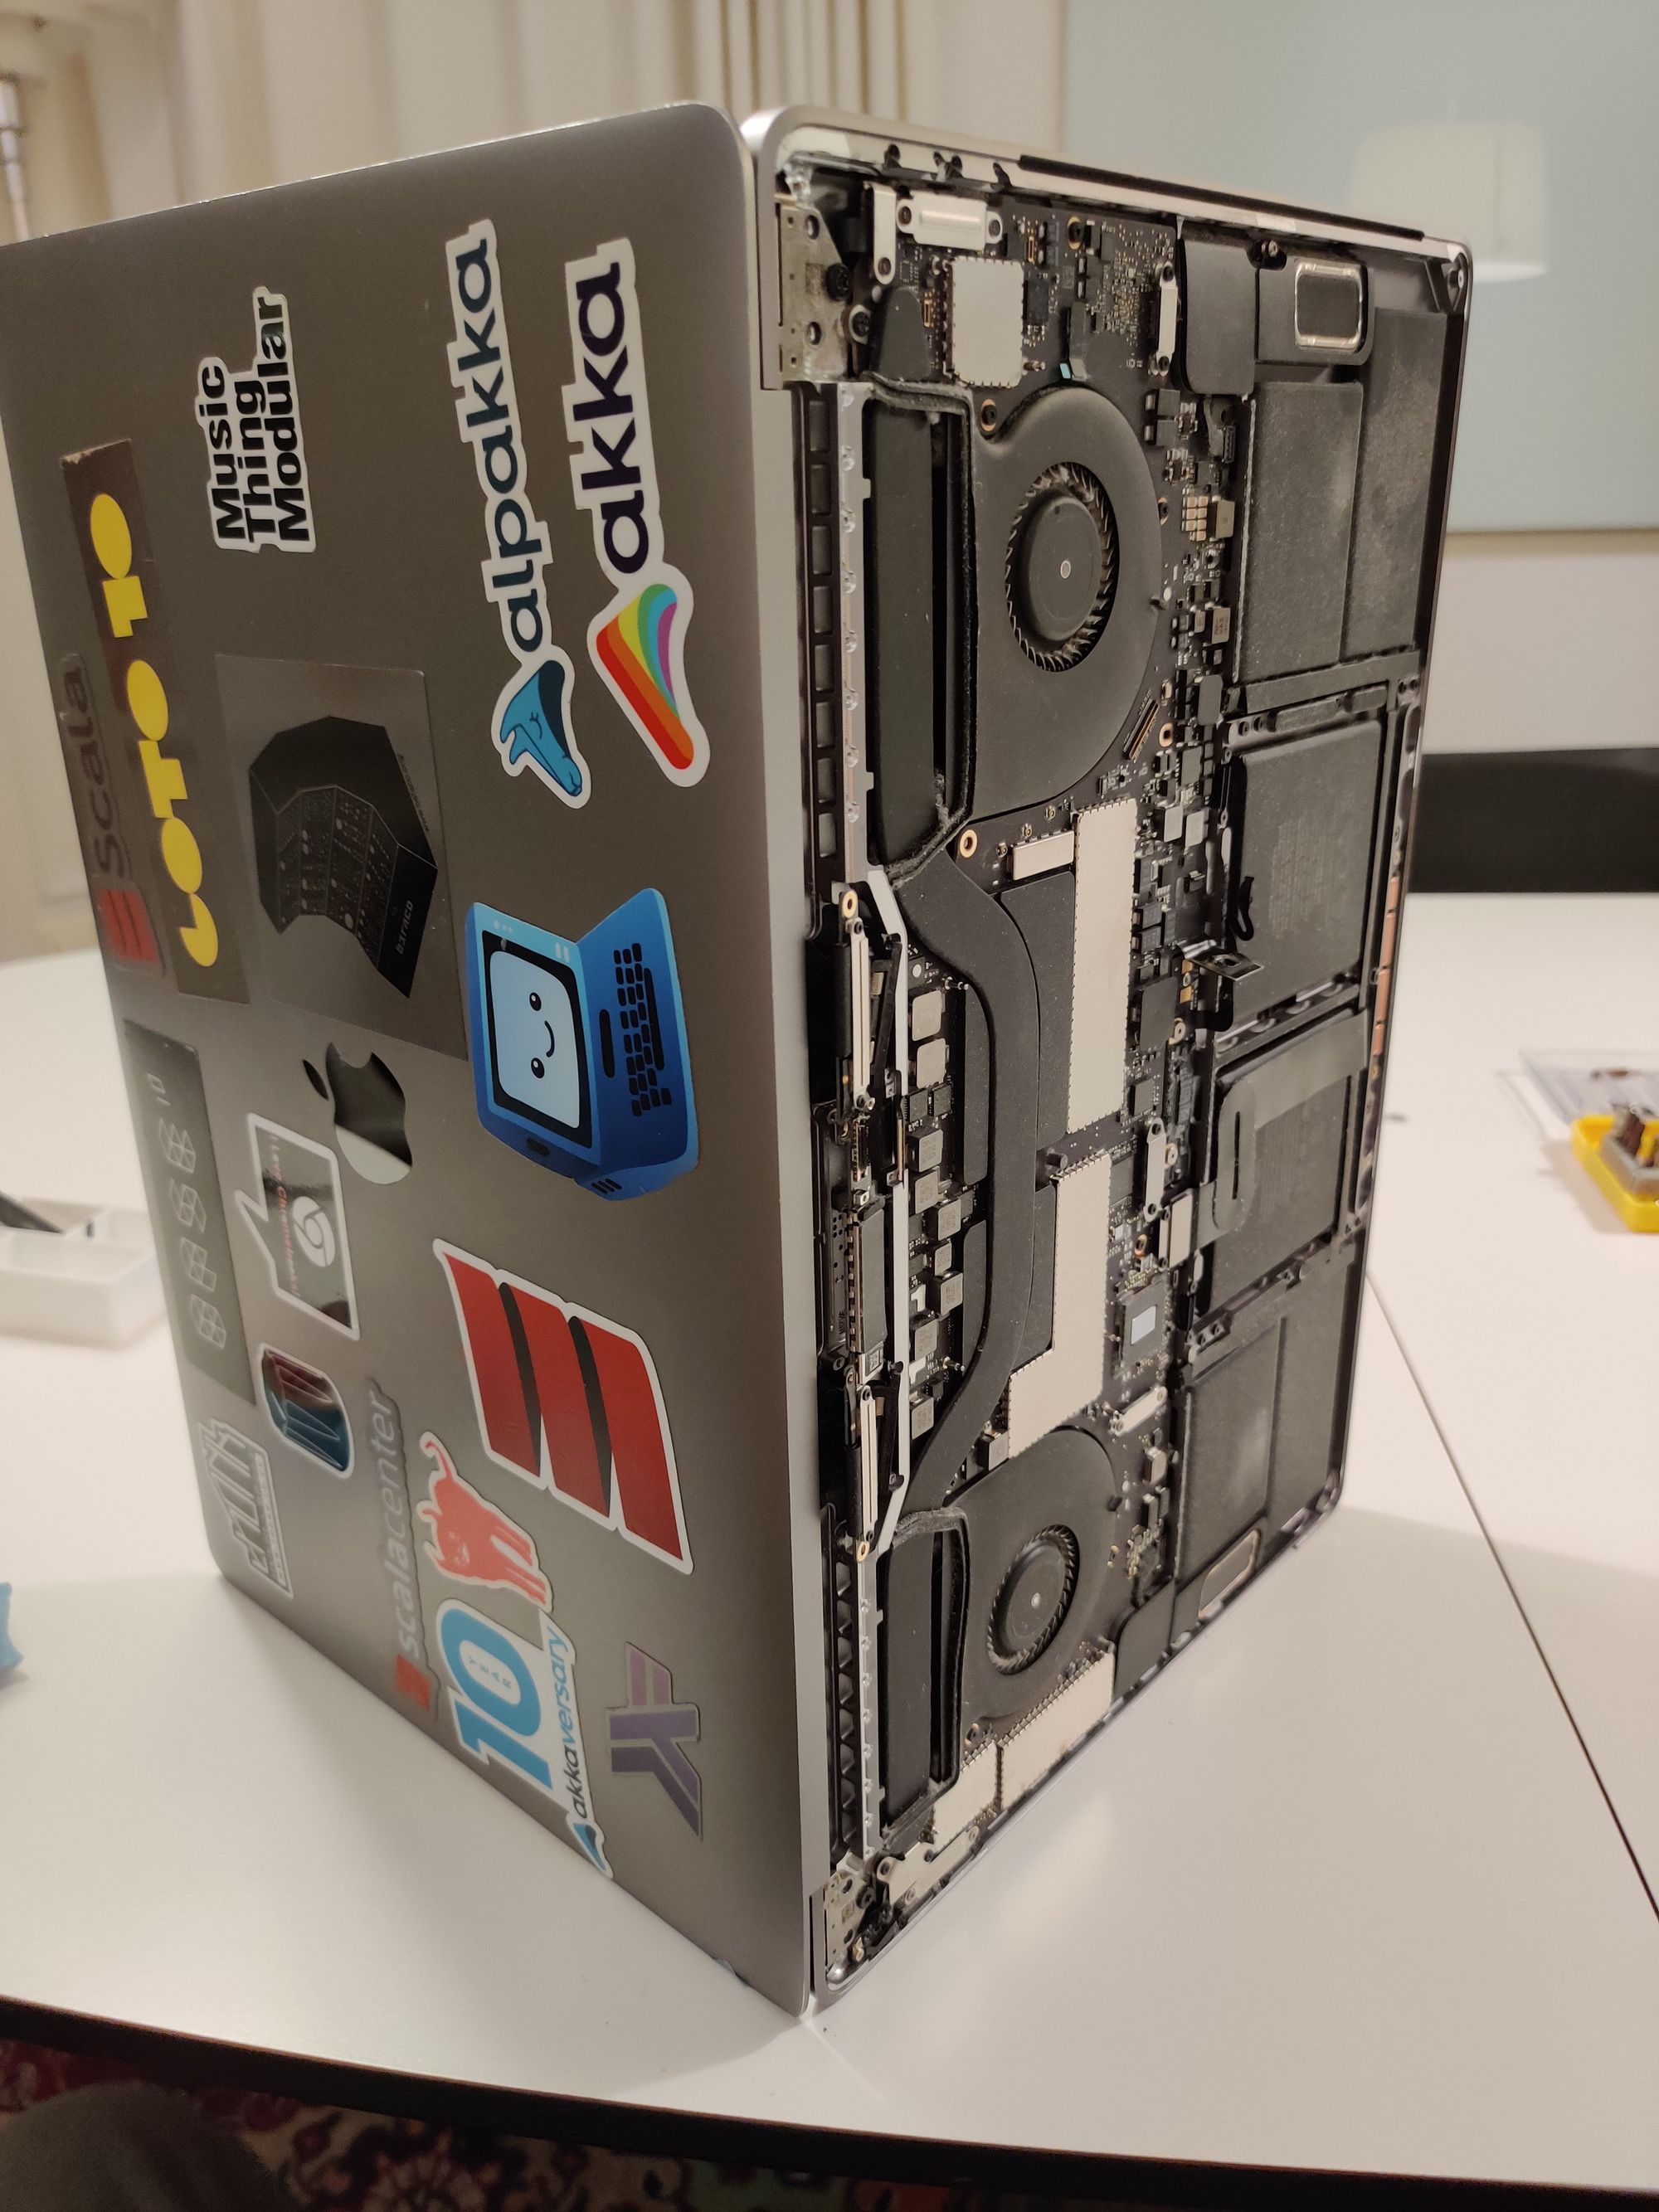
So first step is a simple teardown, removing the screen assembly just like a normal screen replacement. Ifixit has a perfect instruction for that: https://www.ifixit.com/Guide/MacBook+Pro+15-Inch+Touch+Bar+Late+2016+Screen+Replacement/122604
After doing this I have a separated screen with a small PCB.

Then comes the solder job.
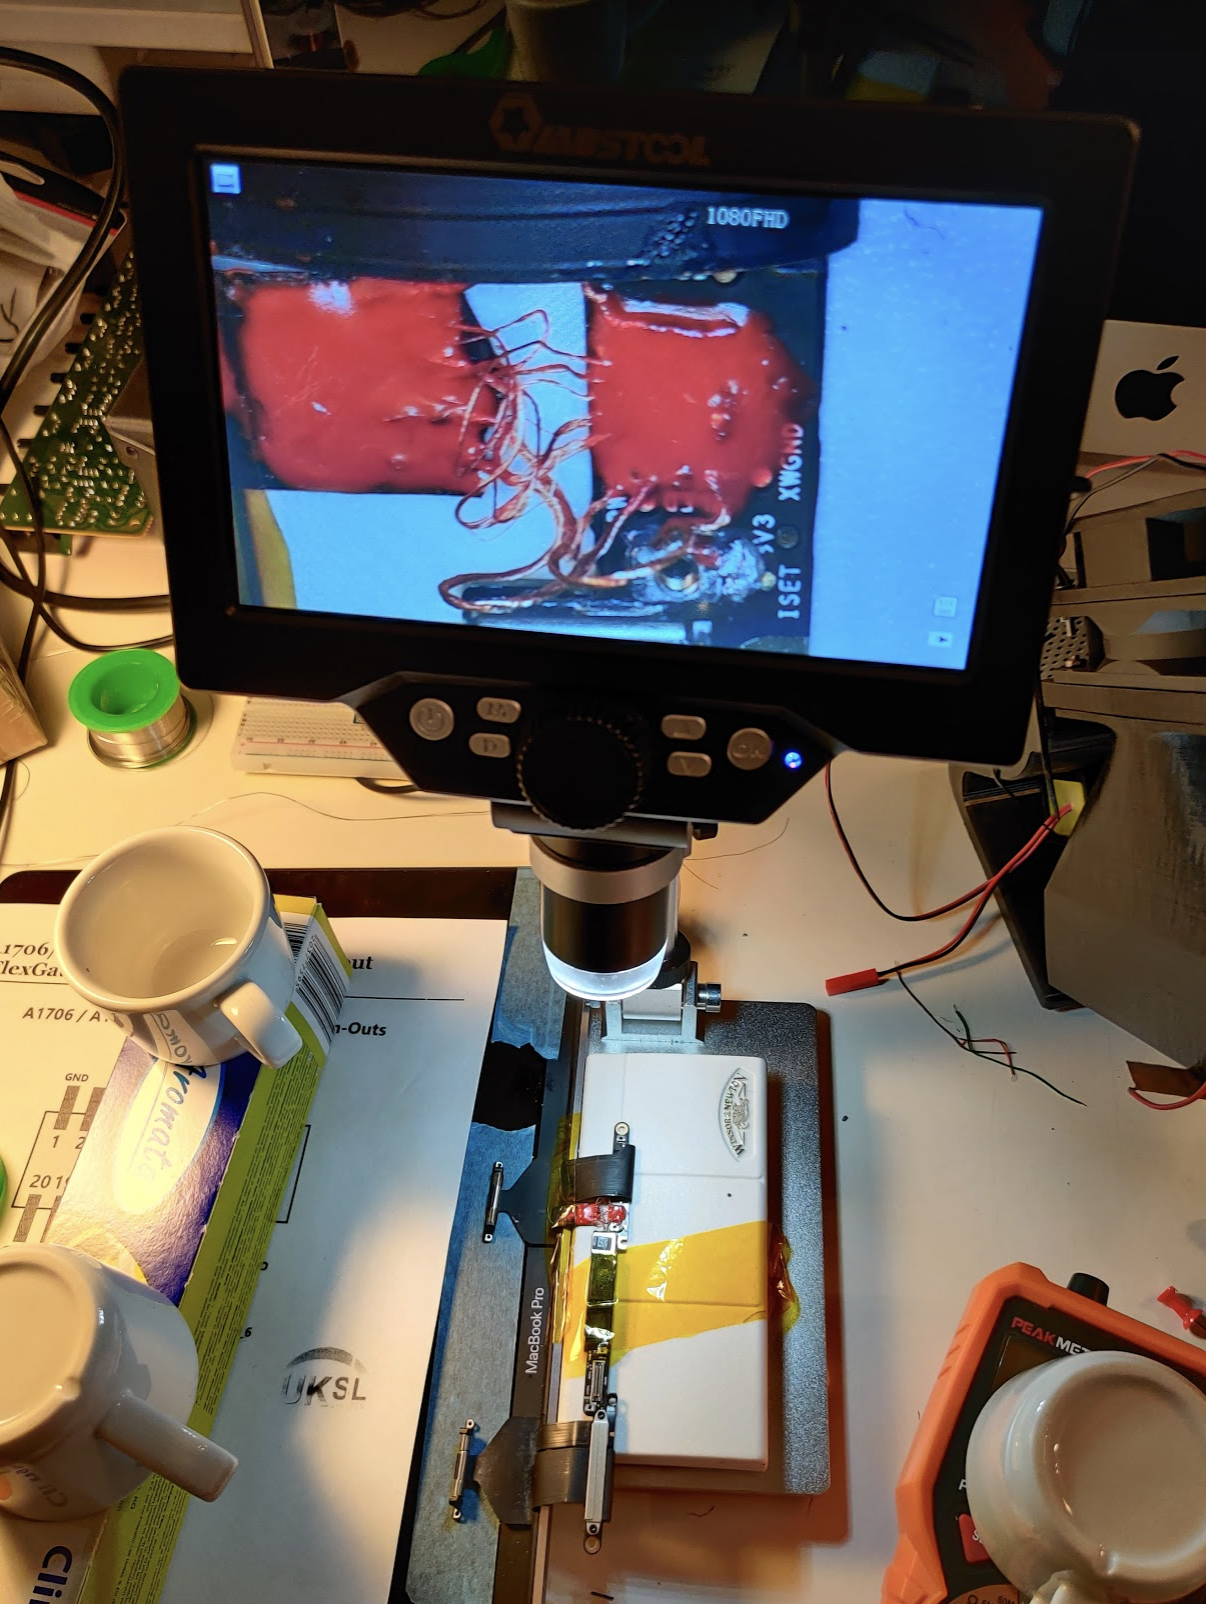
First issue was I didn't really have correctly dimensioned wires. So I created multistrand wires from coated copper jumpers of 0.02mm, twisting them with a drill and hook:
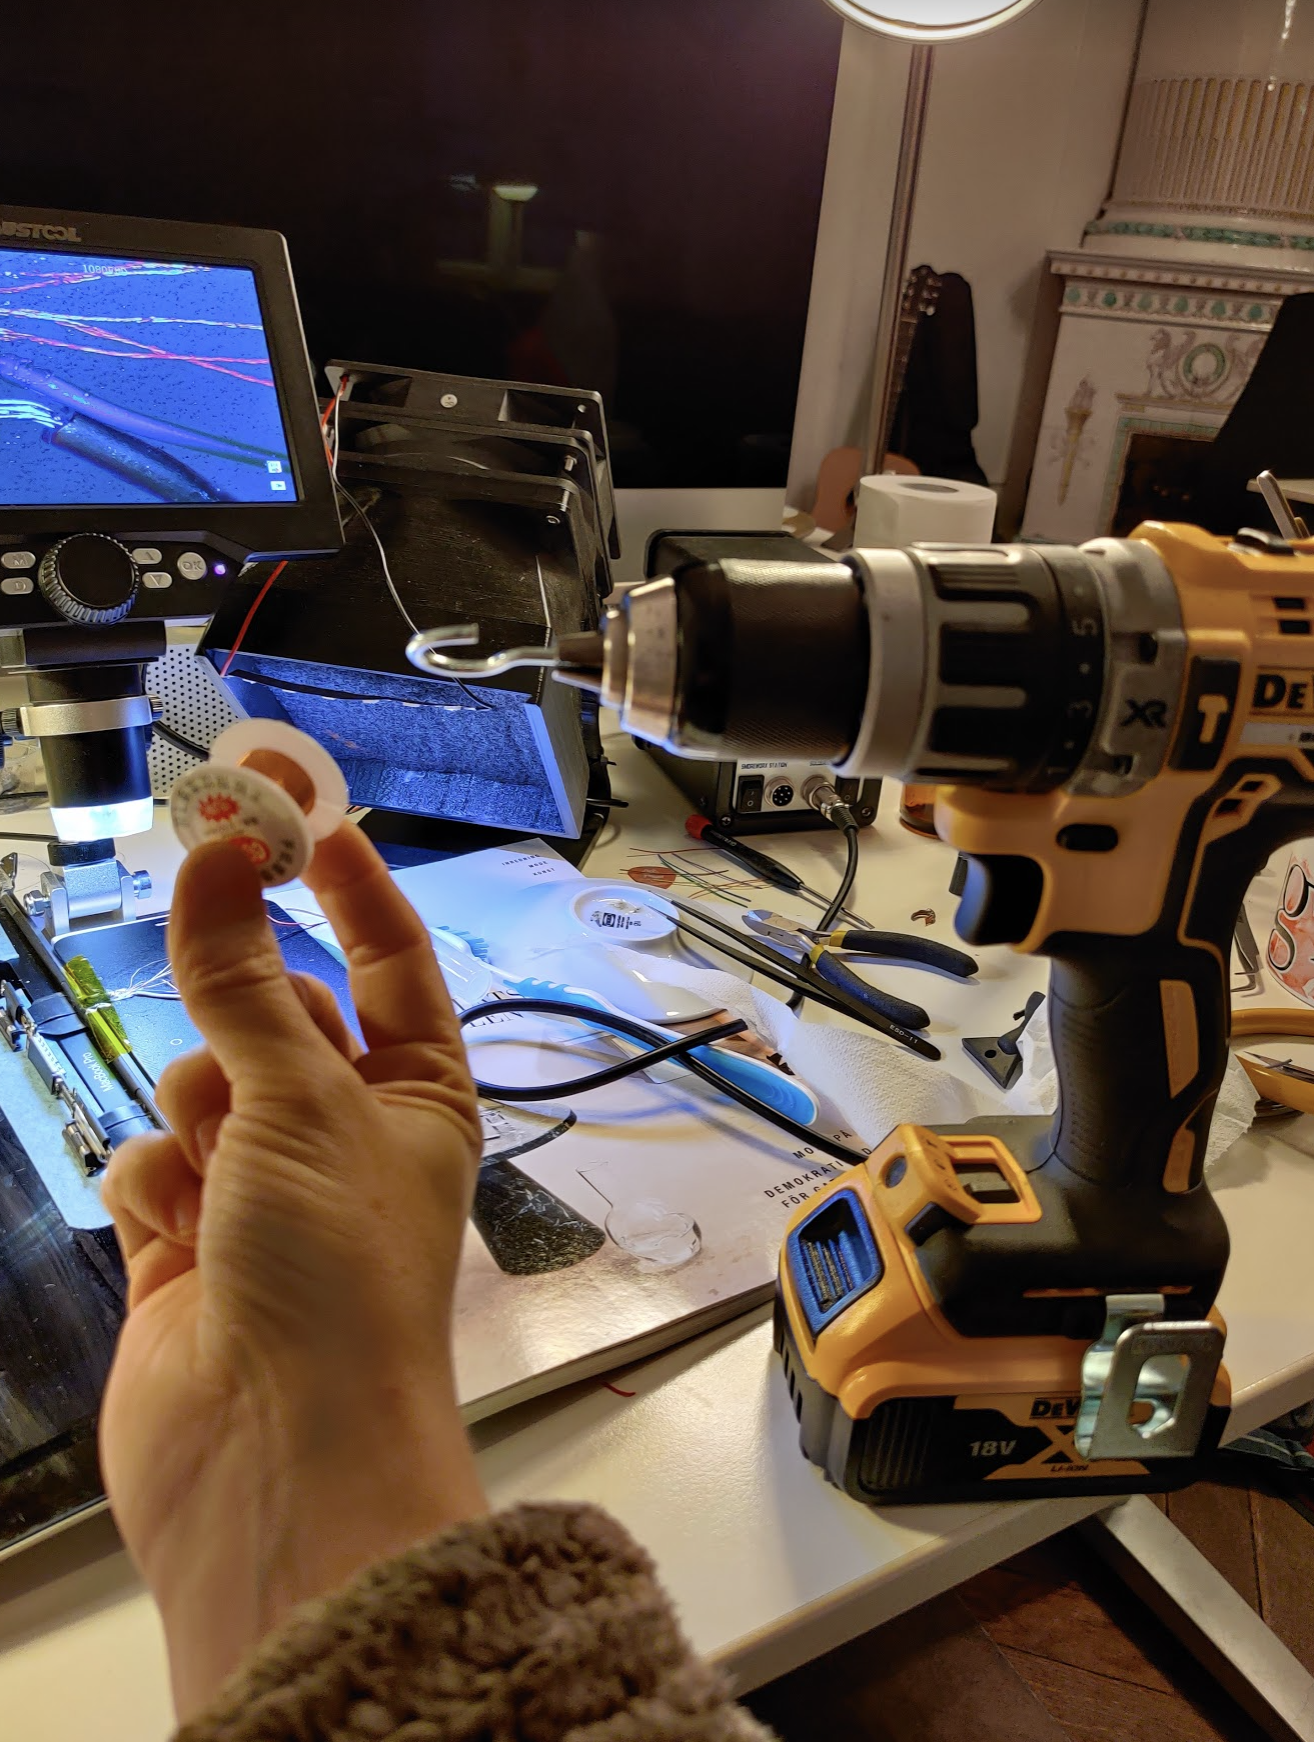
First I create loops of wire over my fingers, say 10 full turns. Then I thread the hook with one side of the loop while keeping a pinch on the other side. Then just run the drill until its properly twisted into a multistrand cable. I think for longevity this beats anything?
To finish the wires you need to burn away the isolation coating. I just used the solder iron and flux for this and also tinned the ends, just a couple of mm's.
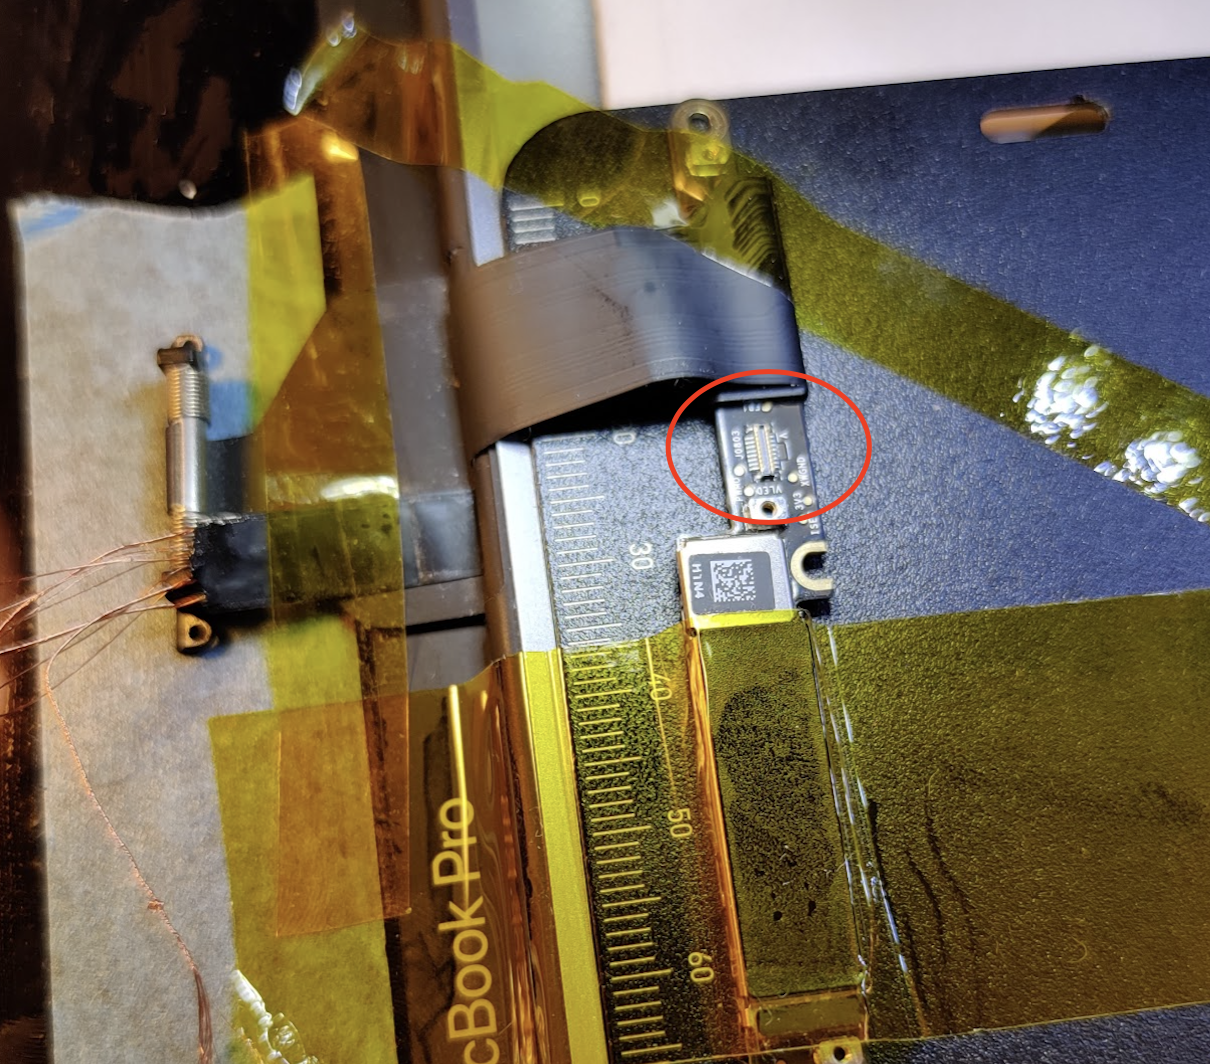
I then scraped off the rubber coating of the felxcables to expose the copper, pick for scale:
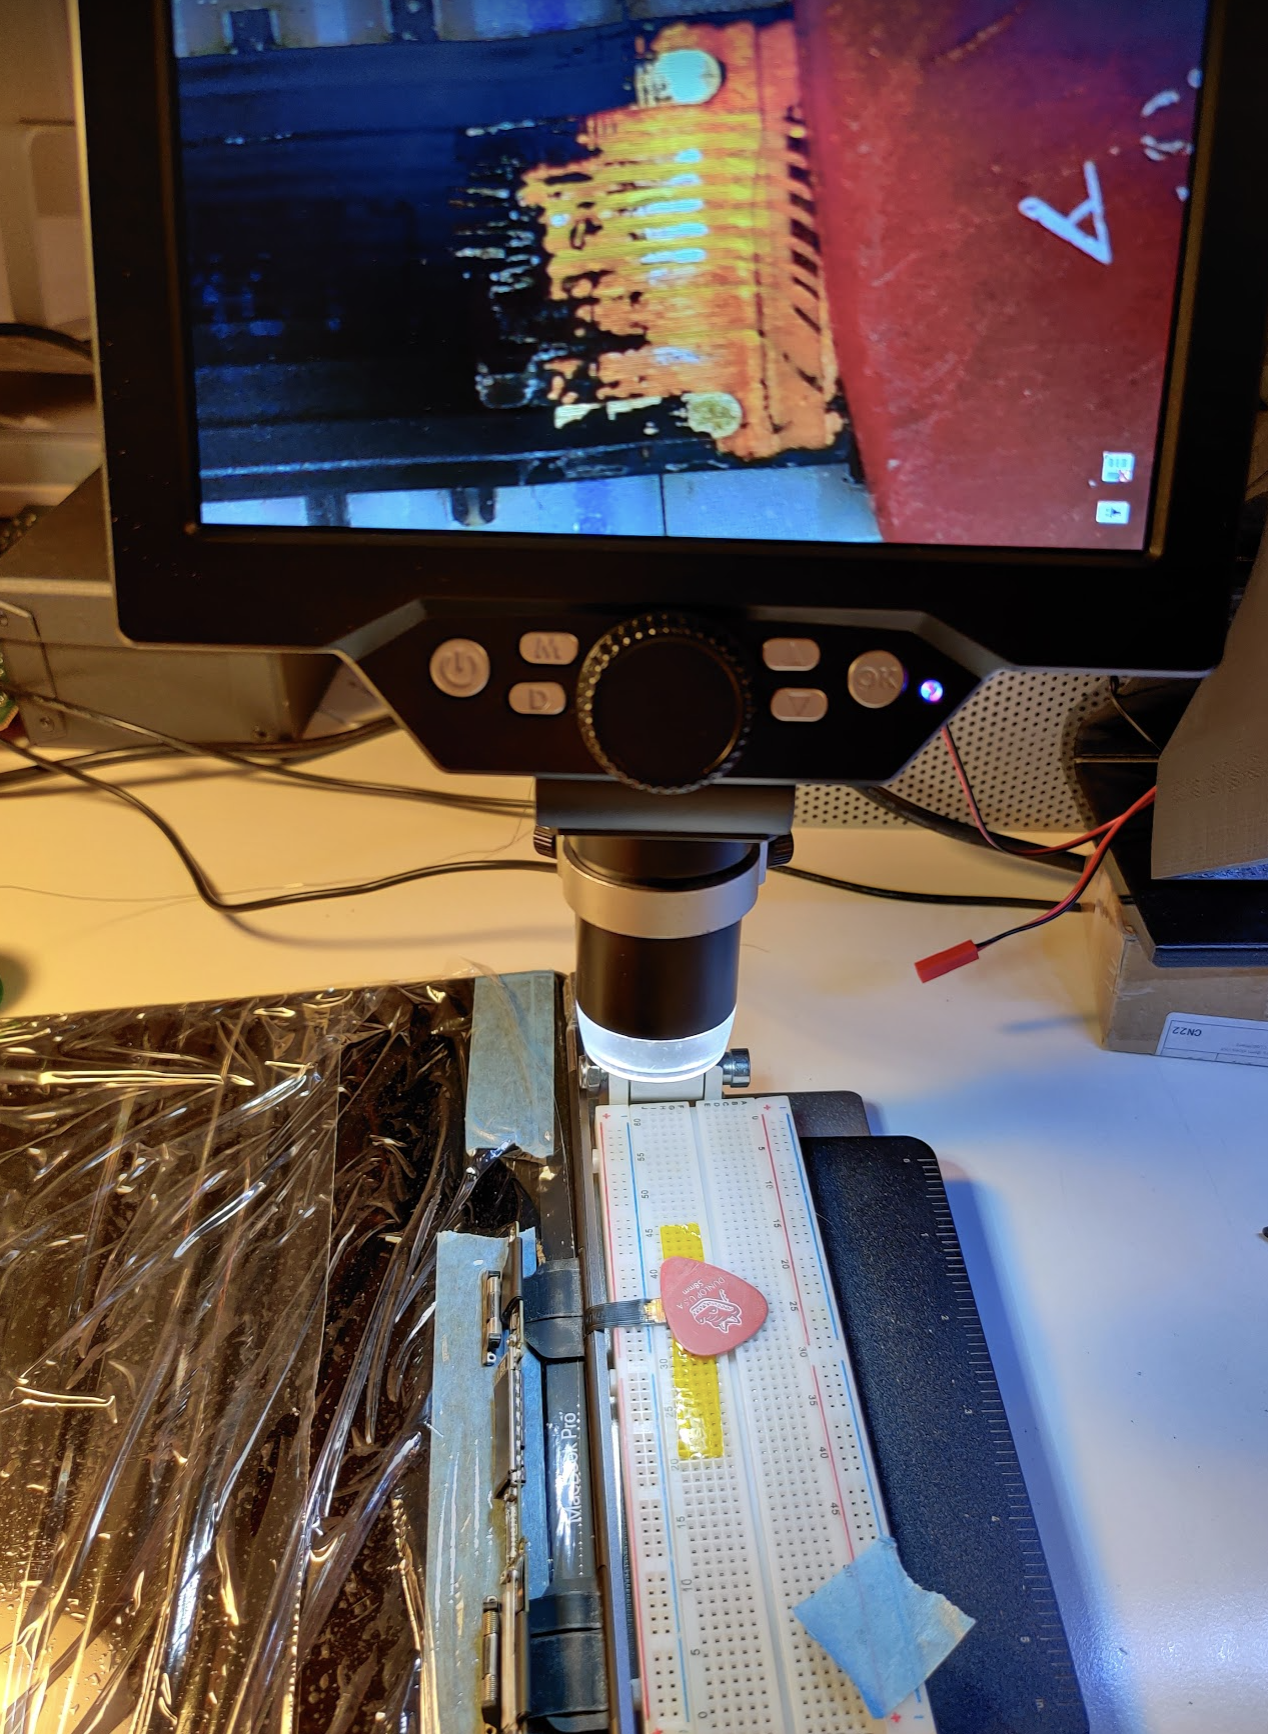
You can clearly see the hairline crack in the cable here on the microscope screen. I tore at the connector and it snapped at the already present crack.
Then I fluxed and added a bit of solder. Used leaded solder for this. Here I have soldered on the wires onto the flexcable, toothpick for scale:
This was really really hard. Steady hands is a must, but this was really tiny and I didn't have a soldering tip small enough. Couldn't really touch on the wires one by one. I think it would be a lot easier with a proper microtip.
But in the end it worked and I checked for shorts. Didn't know a way to check for proper connection however but they were mechanically attached enough.
Then I desoldered the flexcable connector here:
…and instead soldered the cables directly onto the PCB. This was just as hard if hot harder than the flexcable. I had to redo it over and over because I created shorts between the pads with my clumsy soldering tip and shaky hands. But finally I came through and I couldn't find any shorts while all cables where properly attached.
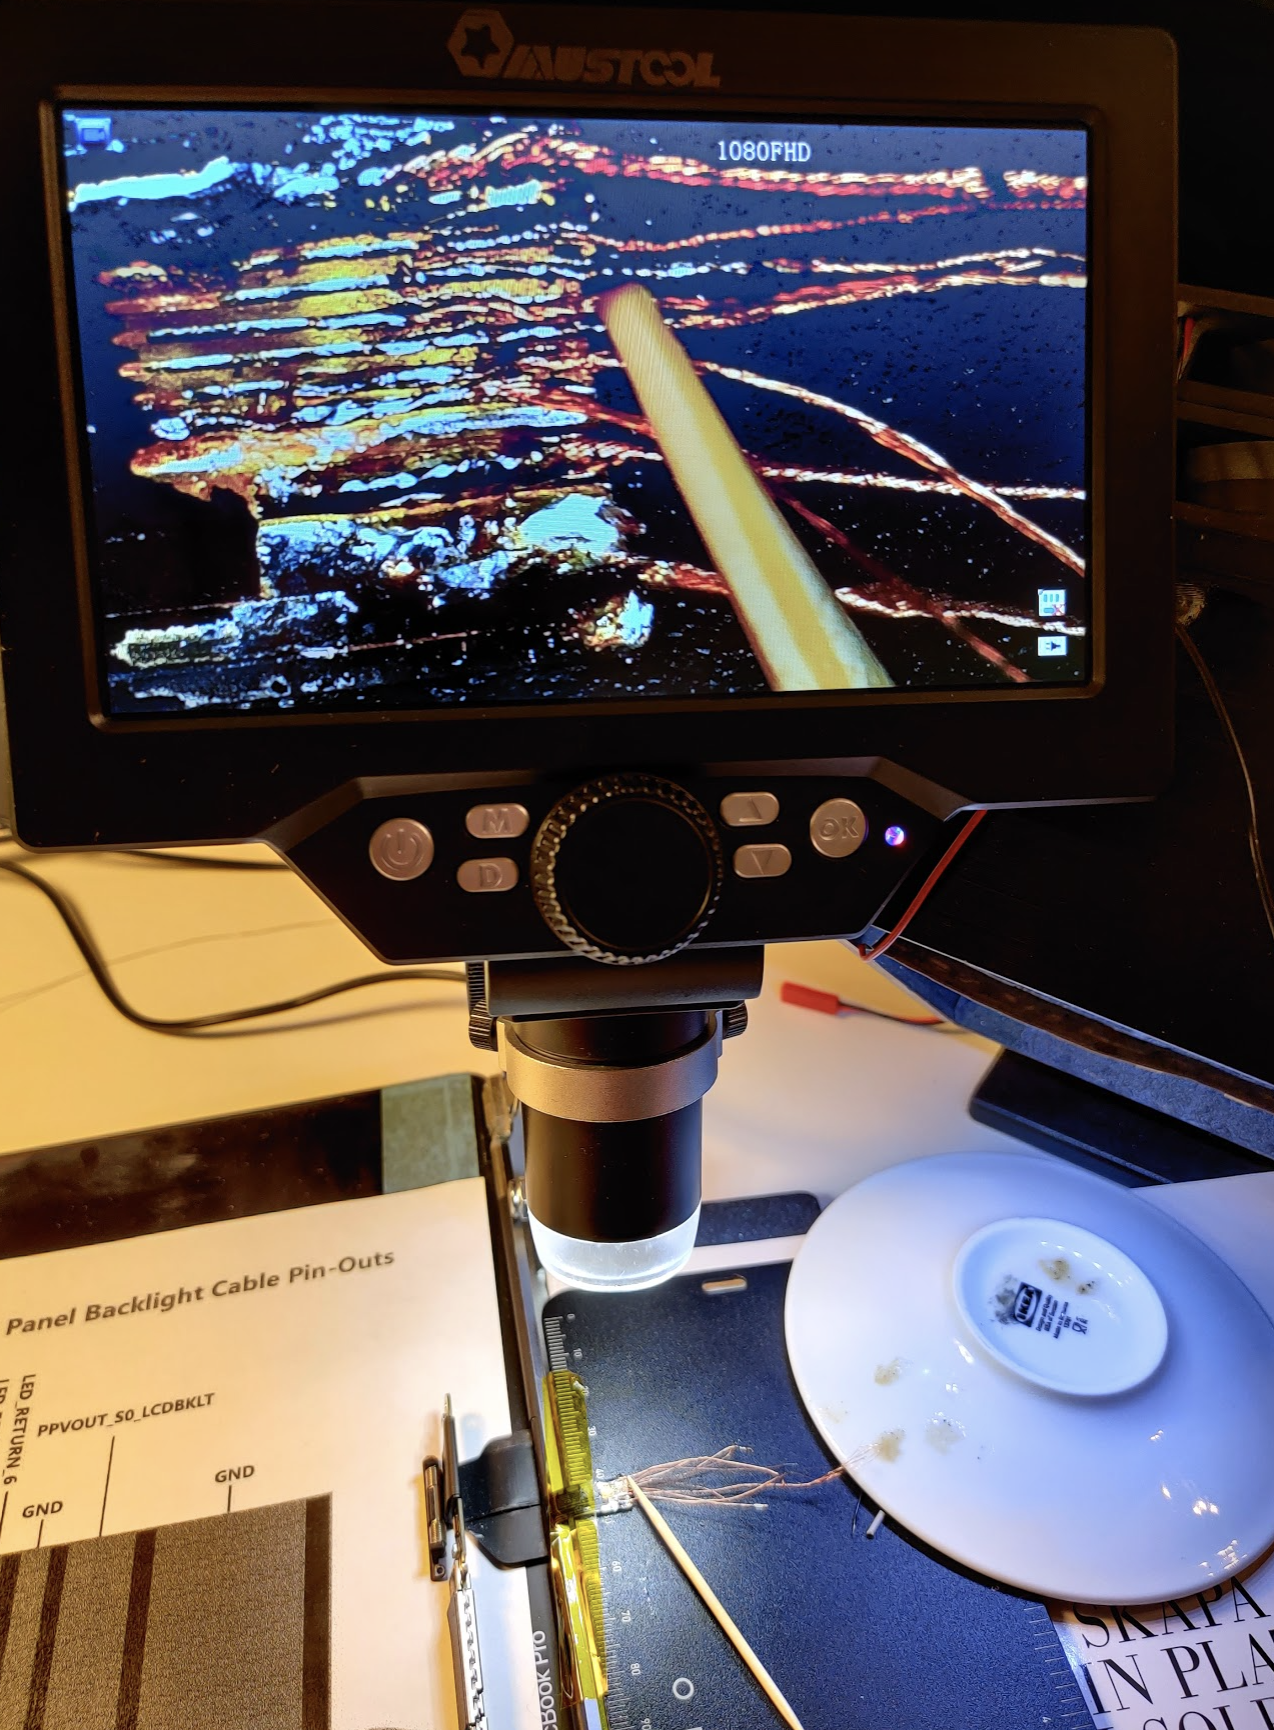
Here's a pinout of the flexcable and PCB connector for reference:
https://logi.wiki/index.php/A1706/A1708_TConn_Backlight_Pinout_(FlexGate)
Finally I covered everything in UV-curable resin:
This is the solder mask kind of resin I've used for creating PCB's previously and I slabbed it on pretty thick here to keep the solder joints stress-free. So I had to cure with UV light for quite a few hours. This was really a one-shot thing. If I had messed up the solder job it's not gonna be easy to tear up the resin and retry. I figured I'd buy a new screen assembly in that case after crying for a bit. So I checked thoroughly for shorts.
Almost reassembled:

…aaand where back online:

Nothing remaining of stage light effect. Full screen backlight and everything seems to work just fine.
This was probably the most challenging soldering I've ever done. Not sure it's in general worth the effort since I probably put 5-6 hours into this.